
Keeping Your Home's Exterior Paint in Good Shape

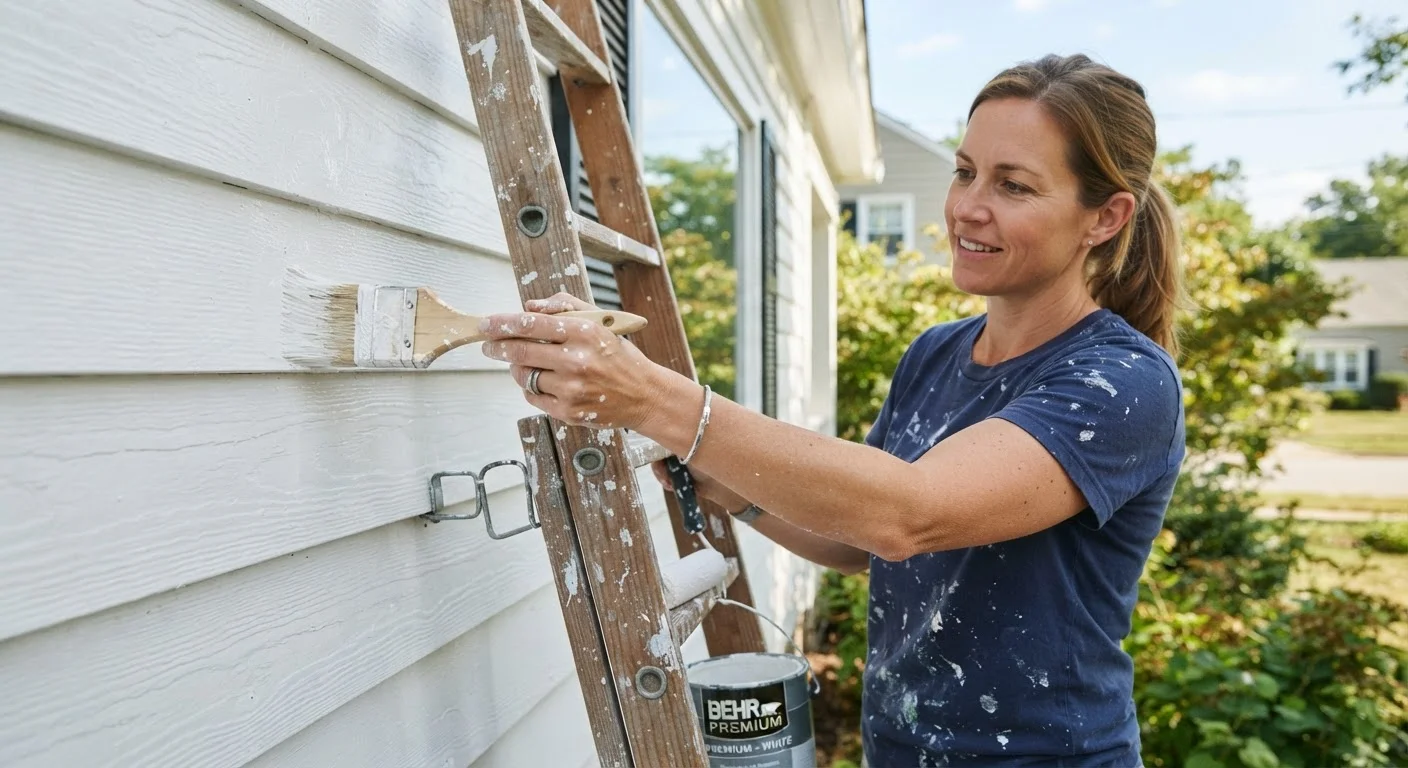
Photo: BridgeWish.com | Reliable Source Of Information editorial
Key Takeaways
- Exterior paint acts as a protective barrier against moisture, UV rays, and temperature changes — not just a cosmetic finish.
- Proper surface prep — cleaning, scraping, and priming — determines how long a repaint will last.
- Paint in dry, mild weather between 50°F and 85°F for the best adhesion and cure.
- Catching small failures like peeling or cracking early prevents costlier siding repairs down the road.
- Most homes need exterior repainting every 5–10 years depending on siding material and climate exposure.
Why Exterior Paint Matters Beyond Curb Appeal
A faded or peeling exterior is easy to write off as a cosmetic issue — but the paint on your home's outside walls is actually one of its first lines of defense. As explained in our guide to exterior paint as protection, a sound paint film keeps moisture from penetrating siding, resists UV degradation, and reduces wood swelling caused by seasonal temperature swings.
Once that film breaks down — through cracking, bubbling, or peeling — water can work its way behind the siding. Left unaddressed, this leads to rot, mold, and in some cases structural damage that costs far more to fix than a timely repaint. Treating exterior paint as maintenance rather than decoration helps shift the mindset from reactive to preventive.
5–10 years
Typical exterior repaint interval for most homes
The interval varies by siding material and climate: wood siding often needs repainting every 3–7 years, while fiber cement can go 10–15 years between coats under normal conditions.
~80%
Paint job longevity attributed to surface preparation
Industry painting guides consistently attribute the majority of a paint job's lifespan to prep work rather than the paint product itself.
How to Spot Paint Failure Before It Becomes a Problem
The best time to catch paint problems is during a routine seasonal walkthrough. Look for these warning signs:
- Peeling or flaking: Paint lifting away from the surface signals moisture intrusion or adhesion failure underneath.
- Cracking or alligatoring: A pattern of cracks resembling reptile skin means the paint film has lost flexibility — often from age or too many layers.
- Chalking: A powdery residue that transfers to your finger when you rub the surface indicates UV degradation of older paint.
- Staining or discoloration: Dark streaks or rust-colored spots can point to water damage, tannin bleed from wood, or failing caulk around windows and trim.
Your spring inspection checklist is an ideal time to walk the perimeter and note any of these issues, since winter weather often accelerates existing paint failures.
Best Practices for Maintenance Painting That Lasts
Durability starts before you open a can. The practices below reflect what professional painters and home inspectors consistently point to as the difference between a repaint that lasts a decade and one that starts failing in three years.
Clean the surface thoroughly before any paint application
Scrape, sand, and feather all failing paint edges before recoating
Prime bare wood and repaired areas before applying the topcoat
Inspect and re-caulk joints, seams, and trim before painting
Apply two coats and maintain a wet edge while working
Timing, Weather, and Seasonal Considerations
When you paint matters nearly as much as how you paint. Most exterior paints require surface temperatures between 50°F and 85°F and low humidity for proper adhesion and curing. Painting in direct sun can cause the paint to dry too quickly and blister. Early morning on a cloudy day is often ideal.
Late spring through early fall is generally the safest painting window in most US climates, though this varies by region. In humid southern states, avoiding the peak of summer humidity is wise. In northern states, the window can close early — paint applied too close to the first frost may not cure fully before temperatures drop.
Check the Forecast Before You Start
Folding exterior paint checks into your broader maintenance calendar helps ensure you never miss the right window. Our month-by-month home maintenance guide walks through what to inspect and address each month.
The content on this site is for informational purposes only and is not a substitute for professional advice. Always consult a qualified professional for guidance specific to your situation.