
Moving Out Without Losing Your Deposit

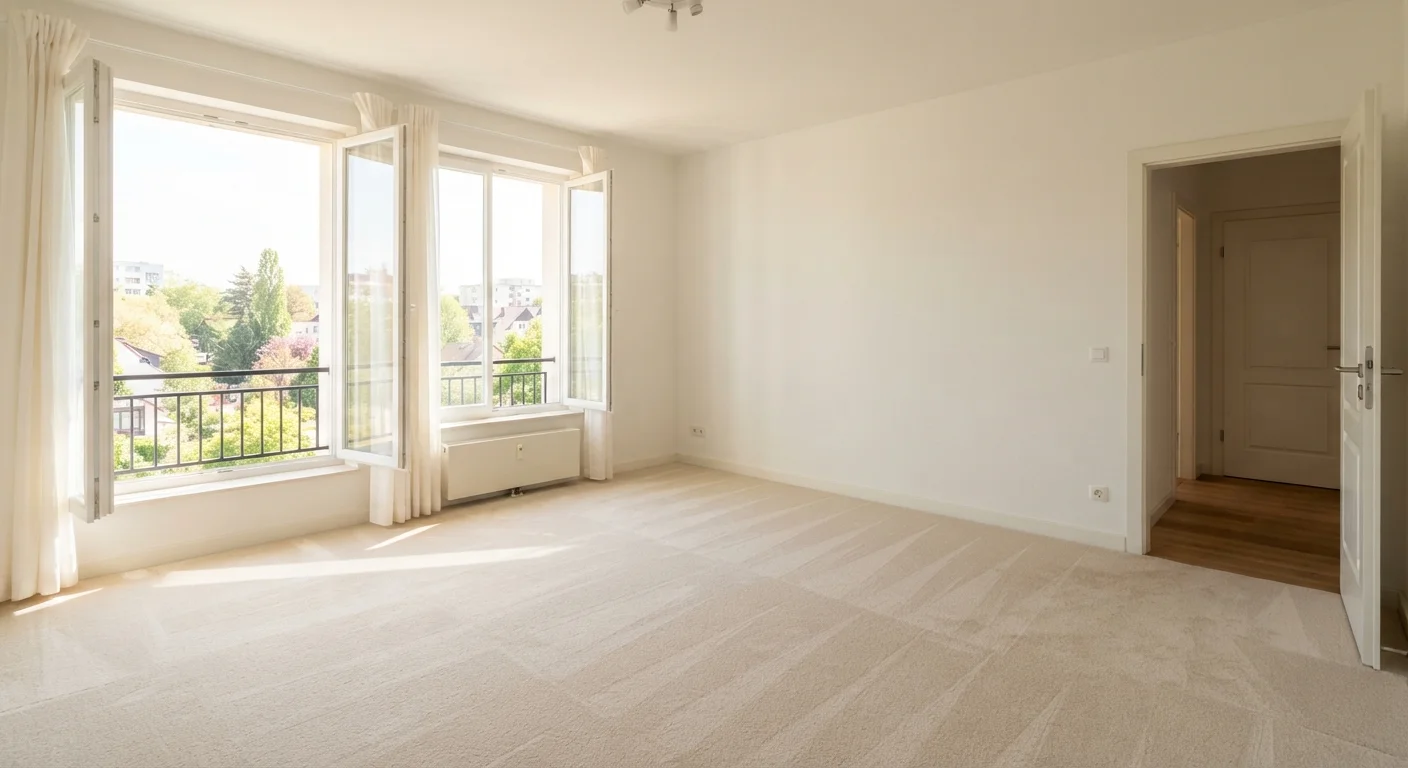
Photo: BridgeWish.com | Reliable Source Of Information editorial
Key Takeaways
- Review your lease's move-out requirements at least 30 days before your departure date.
- Document the unit's condition with dated photos before handing over keys.
- Normal wear and tear cannot legally be charged against your deposit in most states.
- A move-in checklist you signed is your strongest defense if deductions are disputed.
- Most states require landlords to return deposits and itemized deductions within 14–30 days.
Why Move-Out Preparation Matters
Security deposits are typically equal to one or two months' rent — a significant sum worth protecting. Yet many renters lose part or all of their deposit not because of serious damage, but because of incomplete cleaning, missed documentation, or procedural missteps that landlords are entitled to charge for under the lease.
The good news is that most deposit deductions are preventable with advance preparation. Understanding your rights is just as important as the cleaning itself. For a comprehensive look at what landlords can and cannot legally deduct, read our guide on security deposit rules every renter should know.
What you will need
What You'll Need Before You Start
Having the right materials and information on hand before you begin will save time and reduce the risk of overlooking something important.
Camera or smartphone
Capture dated photo and video documentation of every room before vacating.
Cleaning supplies
Perform a thorough move-out clean of all surfaces, appliances, and fixtures.
Spackle and paint (matching)
Fill nail holes and touch up minor wall scuffs beyond normal wear and tear.
Written move-out checklist
Track completed tasks room by room to ensure nothing is missed before handing over keys.
For general guidance on keeping your unit in good condition throughout your tenancy — which makes move-out far easier — explore the home maintenance resources on this site.
Step-by-Step: Protecting Your Deposit
Re-read your lease's move-out clause
Before anything else, locate the section of your lease that covers move-out requirements. Note the required notice period (commonly 30–60 days), any specific cleaning standards, and instructions for returning keys or fobs. Some leases also specify whether a professional carpet cleaning receipt is required. Knowing exactly what is contractually expected protects you from deductions based on misunderstanding.
Give proper written notice
Submit your notice to vacate in writing — even if your landlord says a phone call is fine. Use email or certified mail so you have a time-stamped record. Include your intended move-out date and your forwarding address, which is where your deposit and any itemized deduction statement will be sent. Missing the notice deadline can result in lease penalties that offset your deposit.
Perform a room-by-room move-out clean
Work systematically through every room. In the kitchen, clean inside the oven, refrigerator, and all cabinet interiors. In bathrooms, scrub grout, remove soap scum, and clean exhaust fans. Throughout the unit, wipe down baseboards, window sills, blinds, and light switch covers. Vacuum all carpets and mop hard floors. The goal is to return the unit to the condition it was in when you moved in, accounting for reasonable wear.
Understanding what counts as normal wear and tear — gradual fading, minor scuffs, small carpet wear patterns — versus damage is important. Landlords generally cannot charge for the former. For a deeper look at what deductions are legally allowed, see security deposit rules every renter should know.
Repair minor damage you are responsible for
Walk every room looking for damage beyond normal wear and tear: large holes in drywall, broken fixtures, stained carpet, or cracked tile. For small nail holes (standard picture-hanging), most landlords accept spackle and a light sand. Larger repairs may require professional help. Addressing these yourself is almost always less expensive than a landlord's contractor.
Document everything with photos and video
Once the unit is clean and repairs are complete — but before you remove any furniture or boxes — conduct a thorough photo and video walkthrough. Capture every room, every wall, inside appliances, under sinks, and any area that had prior noted damage. Make sure each file is automatically date-stamped by your device. This documentation is your primary evidence if deductions are disputed.
Compare these images against any photos you took at move-in. If you used a checklist when you first arrived, now is the time to cross-reference it. Our apartment walkthrough checklist can serve as a useful room-by-room comparison guide.
Request and attend a final walkthrough
Ask your landlord in writing to conduct a joint move-out inspection before you hand over keys. Walk through together, note any concerns in writing, and ask for a signed acknowledgment that the unit was accepted in satisfactory condition — or a specific list of any outstanding items. This is your last opportunity to correct anything before losing access to the unit.
Return keys and provide your forwarding address
Return all keys, key fobs, garage openers, and mailbox keys on or before your official move-out date. Get written confirmation from your landlord acknowledging receipt. Provide your current forwarding address in writing if you haven't already — landlords are typically required to send the deposit return and any itemized deduction statement to this address within your state's statutory deadline.
Don't Skip the Final Walkthrough
Match Your Cleaning to Move-In Standards
After You Move Out: Following Up on Your Deposit
Once you've returned your keys, the clock starts on your landlord's legal obligation to return your deposit. Most states require the full deposit — or a written itemized list of deductions with the remaining balance — to be delivered to your forwarding address within 14 to 30 days. If no itemization arrives within that window, your landlord may lose the right to withhold any portion.
Know Your State's Deposit Return Deadline
If you receive an itemized deduction statement and believe charges are unjustified, respond in writing promptly. Reference your move-in inspection report, your move-out photos, and any written acknowledgment from the walkthrough. If the dispute cannot be resolved directly, most states allow renters to pursue the matter in small claims court. For a full overview of the move-out process and how to close out your tenancy smoothly, see moving out the right way.
The content on this site is for informational purposes only and is not a substitute for professional advice. Always consult a qualified professional for guidance specific to your situation.