
Renting a Home

The Walkthrough Checklist Every Renter Should Complete on Move-In Day

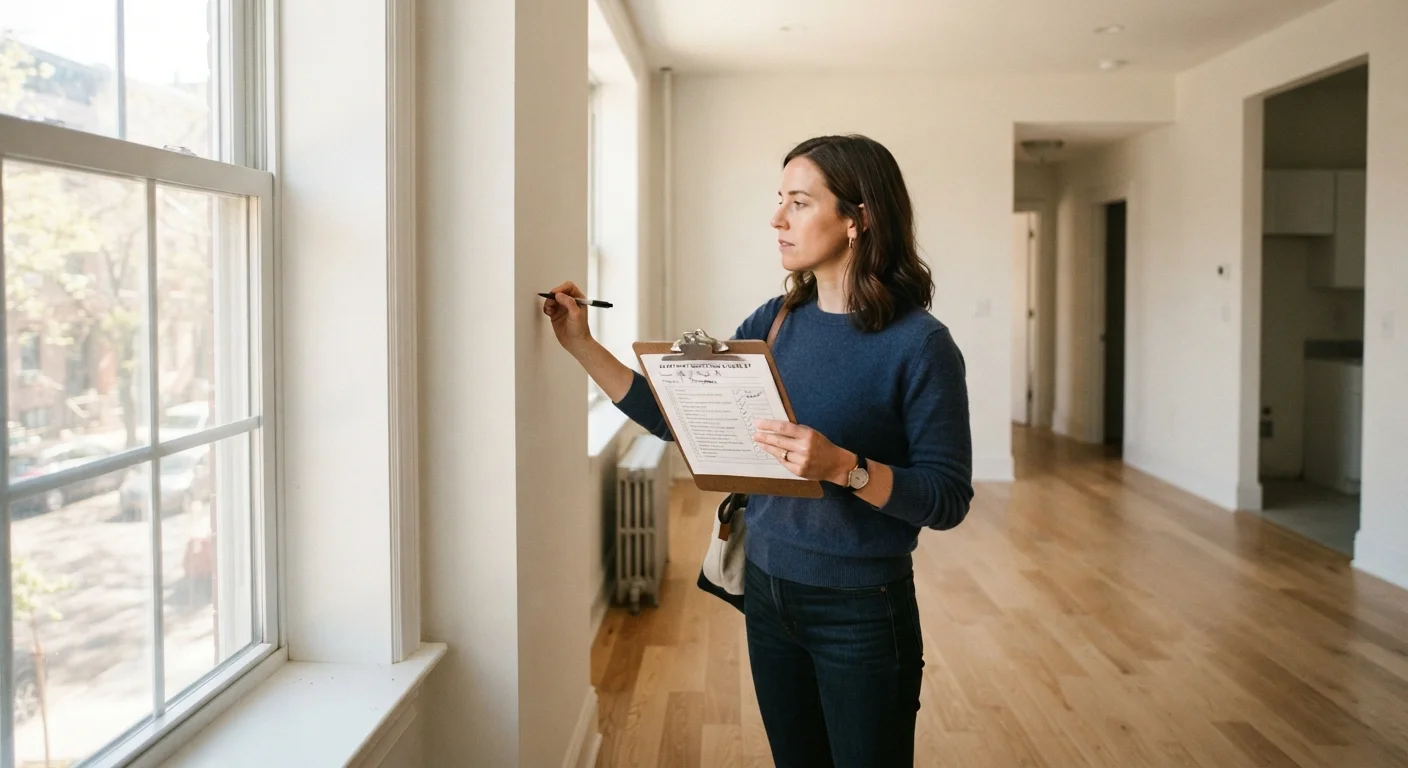
The Walkthrough Checklist Every Renter Should Complete on Move-In Day

Photo: BridgeWish.com | Reliable Source Of Information editorial

Don't skip the move-in inspection. Use this checklist to document existing damage, protect your deposit, and start your tenancy on solid footing.

Key Takeaways

  • Document all existing damage in writing and with photos before moving a single item in.
  • A signed move-in inspection report is your strongest defense against unfair deposit deductions.
  • Test every switch, faucet, appliance, and lock — not just what is visible at a glance.
  • Your landlord or property manager should co-sign the inspection report when possible.
  • Keep copies of all documentation in a secure location for the duration of your tenancy.

Why the Move-In Walkthrough Is Non-Negotiable

The move-in walkthrough is one of the most consequential 30 minutes of any tenancy. Yet many renters skip it, rush through it, or rely on memory instead of documentation — a mistake that can cost hundreds or even thousands of dollars when it comes time to move out.

The core purpose of the inspection is straightforward: establish a documented baseline of the unit's condition before you take possession. Without it, any pre-existing damage — a scratch on the hardwood floor, a cracked tile in the bathroom, a faulty window latch — becomes impossible to distinguish from damage you caused. Landlords in most U.S. states are permitted to withhold security deposits to cover damage beyond normal wear and tear, and without a record, the burden of proof often falls on you.

This checklist gives you the structure to inspect thoroughly, document carefully, and start your tenancy on solid legal and practical footing. For a broader look at the entire rental process, see our complete renting guide.

Submit Documentation Within 24 Hours

Some states have specific deadlines for submitting move-in inspection reports; others simply require documentation to exist. To be safe, submit your completed, signed inspection form to your landlord in writing — email is acceptable — within 24 hours of taking possession. Request a written acknowledgment. This timestamp matters if a dispute arises later.

Tools and Supplies to Bring

Before you begin, gather the items below. Arriving prepared means you can move efficiently through every room without backtracking.

Required

Smartphone with camera

Take time-stamped photos and video of every room and identified issue.

Required

Move-in inspection form

A structured written record of the unit's condition, to be signed by both renter and landlord.

Required

Flashlight or phone torch

Illuminate dark corners, under-sink cabinets, and closet interiors clearly.

Required

Phone charger or small plug-in device

Test each electrical outlet quickly to confirm it delivers power.

Required

Notepad and pen

Annotate issues on the inspection form as you move through each room.

Optional

Cloud storage app

Back up inspection photos immediately so they are preserved with timestamps.

The Complete Walkthrough Checklist

Work through each room systematically — start at the front door and move clockwise through every space. Do not skip storage areas, garages, or outdoor spaces included in your lease.

Preparation

Obtain a blank move-in inspection form from your landlord, or print a standard one before arriving. Must
Charge your phone or camera fully so you can take clear, time-stamped photos throughout. Must
Schedule the walkthrough before any furniture is moved in so every surface is visible. Must
Ask your landlord or property manager to be present so both parties can sign the completed form. Should

Walls, Floors & Ceilings

Photograph every wall in each room, noting any scuffs, holes, stains, or peeling paint. Must
Inspect floors for scratches, chips, stains, loose tiles, or damaged carpet and record findings. Must
Check ceilings for water stains, cracks, or mold — signs of a potential moisture or roof issue. Must

Doors, Windows & Locks

Open and close every door and window to confirm they operate smoothly and seal properly. Must
Test every lock, deadbolt, and window latch; note any that stick, fail to engage, or are missing. Must
Check window screens for tears or missing hardware and document any cracked glass panes. Should

Plumbing & Water

Run every faucet — kitchen, bathrooms, laundry — and confirm hot and cold water both function. Must
Flush each toilet and check for running water, rocking bases, or slow drains. Must
Look under sinks for signs of leaks, water damage, or mold on cabinet interiors. Must
Test the shower and tub drain speed and check caulking around fixtures for gaps or mildew. Should

Electrical & HVAC

Flip every light switch and test every outlet using a small device like a phone charger. Must
Run the heating and cooling system briefly to confirm it operates and that air flows from all vents. Must
Locate the electrical panel and smoke detectors; test detector function using the test button. Must
Confirm a carbon monoxide detector is present if the unit has gas appliances — required by law in many states. Must

Appliances & Fixtures

Test all included appliances — stove burners, oven, refrigerator, dishwasher, microwave — and note any that malfunction. Must
Run the garbage disposal and any included washer or dryer through a brief cycle to confirm operation. Should
Check cabinet doors and drawer hardware for missing knobs, broken hinges, or warped frames. Nice to have

Never Move Furniture In First

Bringing boxes or furniture into the unit before completing the walkthrough obscures walls, floors, and outlets that need to be inspected. Even if you are pressed for time on move-in day, prioritize the empty-unit inspection first. Damage hidden under a sofa on day one can be attributed to you on move-out day.

Verbal Agreements Are Not Enough

If a landlord acknowledges an existing issue verbally — a broken blind, a scuffed baseboard — that acknowledgment is only enforceable if it is written on the inspection form and signed. Do not accept promises to fix something later as a substitute for written documentation of its current state.

Once you have completed the inspection, submit the signed form to your landlord or property manager and request written confirmation of receipt. Keep a copy yourself — digitally and in print if possible. This documentation becomes critical if you ever need to dispute deductions, as described in our guide on moving out without losing your deposit.

For ongoing upkeep once you are settled, our home maintenance hub covers essential tasks that protect both the property and your relationship with your landlord.

Home Editorial Team

BridgeWish.com | Reliable Source Of Information

Home Editorial Team is the collective byline for our editorial team and contributor network. Articles published under this byline or an editorial pen name are researched, written, and reviewed according to our editorial standards for clarity, consistency, and independence before publication.

Renting a HomeBuying a HomeHome Maintenance
View author profile

The content on this site is for informational purposes only and is not a substitute for professional advice. Always consult a qualified professional for guidance specific to your situation.