
How to Read a Loan Estimate Without Getting Lost in the Numbers

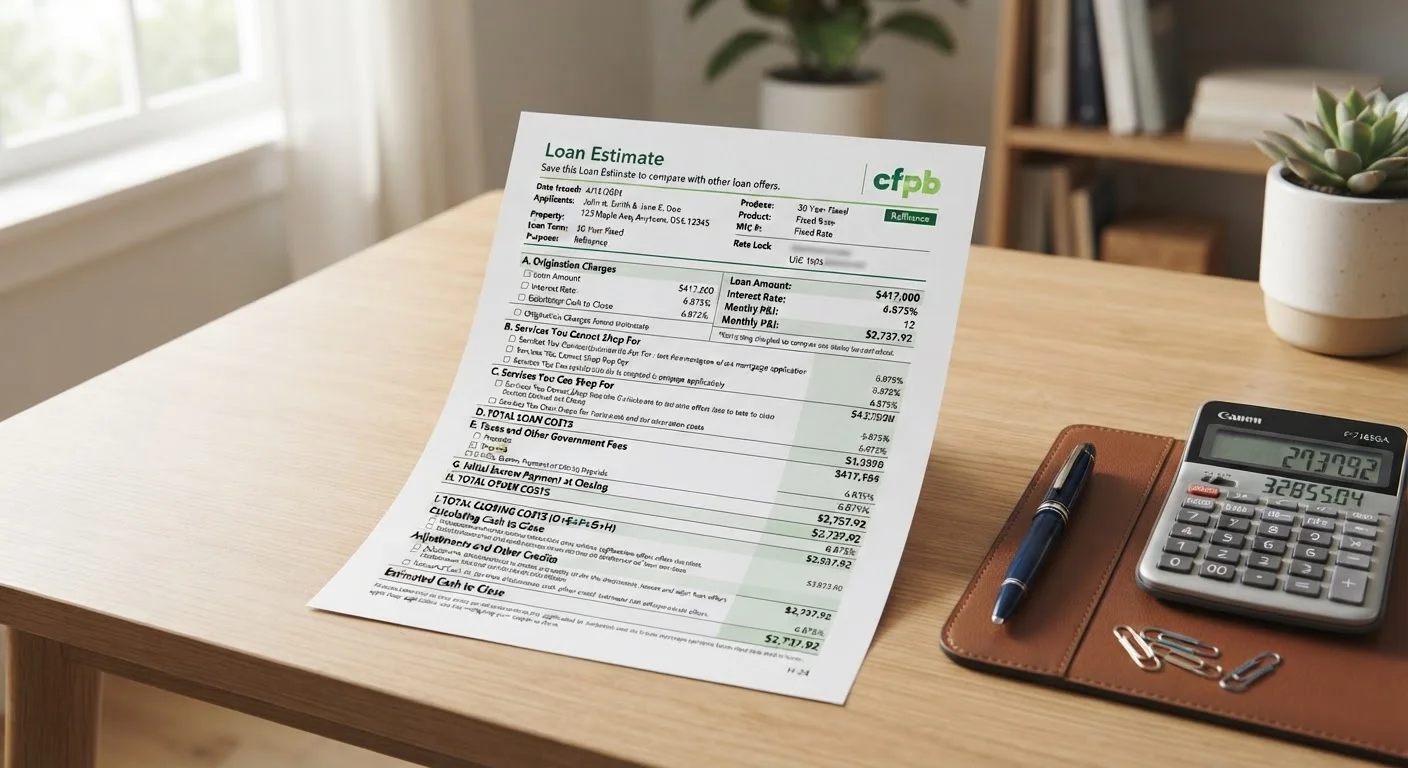
Photo: BridgeWish.com | Reliable Source Of Information editorial
Key Takeaways
- A Loan Estimate is a standardized three-page federal form, making it easier to compare offers across lenders.
- Page 1 shows your loan terms; Page 2 breaks down closing costs; Page 3 compares lenders and reveals cash needed at closing.
- The Annual Percentage Rate (APR) is typically higher than the interest rate because it includes lender fees.
- Some closing costs are fixed; others can be shopped around for better pricing.
- Always compare Loan Estimates from multiple lenders using the same loan amount and type.
What a Loan Estimate Actually Is
Under federal rules established by the Consumer Financial Protection Bureau (CFPB), any lender that receives a completed mortgage application must issue a Loan Estimate within three business days. The form is standardized — every lender uses the same three-page layout — so that borrowers can compare offers side by side without decoding different formats.
The Loan Estimate covers your projected interest rate, monthly payment, total closing costs, and key loan features like prepayment penalties or balloon payments. Understanding each section helps you spot unfavorable terms, identify negotiable fees, and ask better questions before you commit. For a complementary skill, see our guide to reading your credit report, since your credit profile directly affects the rate you're offered.
What you will need
How to Work Through Each Page
The three pages of the Loan Estimate each serve a distinct purpose. Work through them in order rather than jumping to the bottom line.
Review Page 1 — Loan Terms and Projected Payments
The top of Page 1 confirms the basics: lender name, loan term, loan type (fixed or adjustable), and whether the rate can rise. Directly below, the Loan Terms table shows:
- Loan Amount — verify it matches what you applied for.
- Interest Rate — check whether it can increase after closing.
- Monthly Principal & Interest — your core payment before taxes and insurance.
- Indicators for prepayment penalties and balloon payments — both are red flags worth clarifying with your lender.
The Projected Payments section below it estimates your full monthly payment including mortgage insurance (if applicable) and estimated escrow for taxes and homeowner's insurance.
Examine Page 2 — Closing Cost Details
Page 2 is the most detailed section. Closing costs are broken into lettered categories:
- Section A — Origination Charges: Fees paid directly to the lender, such as origination points or underwriting fees.
- Section B — Services You Cannot Shop For: Required third-party services where the lender selects the vendor (e.g., appraisal, credit report fee).
- Section C — Services You Can Shop For: Third-party services where you may choose your own provider, such as title search or settlement agent.
- Sections E–H: Prepaid items (homeowner's insurance premium, prepaid interest), initial escrow payments, and other costs.
The Closing Cost Subtotal and Cash to Close estimates appear at the bottom of this page.
Read Page 3 — Comparisons, Contact Info, and Confirm Details
Page 3 contains three important tables:
- Comparisons: APR, total interest paid in five years, and total monthly payment — the most useful data for comparing competing Estimates.
- Other Considerations: Notes on appraisal rights, homeowner's insurance requirements, late payment policies, and whether the lender intends to service the loan or sell it.
- Confirm Receipt box: You may be asked to sign acknowledging receipt — this does not obligate you to proceed with the loan.
Flag Any Terms That Require Clarification
Before moving forward, note any fields that raise questions:
- Does the interest rate have a can increase after closing checkbox marked? If so, review the adjustment caps carefully.
- Is mortgage insurance (PMI) included, and under what conditions does it fall off?
- Are any fees labeled as estimates likely to change significantly by closing?
Write your questions down and contact the lender's loan officer directly. Lenders are required to explain any item on the form.
Compare at Least Two Loan Estimates Side by Side
Place two or more Estimates next to each other and compare:
- Interest rate and whether it is fixed or adjustable
- APR (Page 3 Comparisons table)
- Total Closing Costs (Page 2 subtotal)
- Cash to Close (Page 2 bottom)
- Five-year total interest paid (Page 3)
A lower rate does not automatically mean a lower total cost. Factor in both upfront fees and long-term interest to make a fully informed comparison. The same analytical mindset applies when evaluating other borrowing products — our auto loan explainer covers how lenders evaluate applications across different loan types.
Request Estimates Under Identical Conditions
Fees You Can Shop and Fees You Cannot
Page 2, Section C lists services you can shop for — third-party costs such as title insurance, settlement agents, and survey fees. You are not required to use the lender's preferred vendors for these services, and getting your own quotes can reduce costs meaningfully.
Sections A and B cover origination charges and services the lender requires you to use — these are set by the lender and are typically not shopped. Understanding which bucket a fee falls into tells you where negotiating energy is worth applying.
This Is General Education, Not Financial Advice
Don't Confuse the Estimate With a Commitment
Comparing Estimates Across Lenders
Page 3 includes a Comparisons table showing the APR, total interest paid over five years, and the Annual Percentage Rate. The APR is broader than the interest rate: it folds in lender fees and is expressed as a yearly cost of borrowing. When comparing two Loan Estimates, the APR is often more useful than the stated rate alone, because a lender offering a lower rate but charging higher origination fees may actually cost more overall.
The same page shows cash to close — the total you'll need to bring to the closing table, including your down payment and prepaid items. This figure is often the most surprising for first-time buyers. If you've previously reviewed other financial documents, the structure here is similar in spirit to what's covered in our credit report walkthrough — dense at first, logical once you know the layout.
This article is for general informational and educational purposes only and does not constitute mortgage, financial, legal, or tax advice. Loan terms, regulations, and lender practices vary. Consult a licensed mortgage professional or HUD-approved housing counselor for guidance specific to your situation.
The content on this site is for informational purposes only and is not a substitute for professional advice. Always consult a qualified professional for guidance specific to your situation.