
Pet Grooming at Home: Frequency, Tools, and Technique by Coat Type

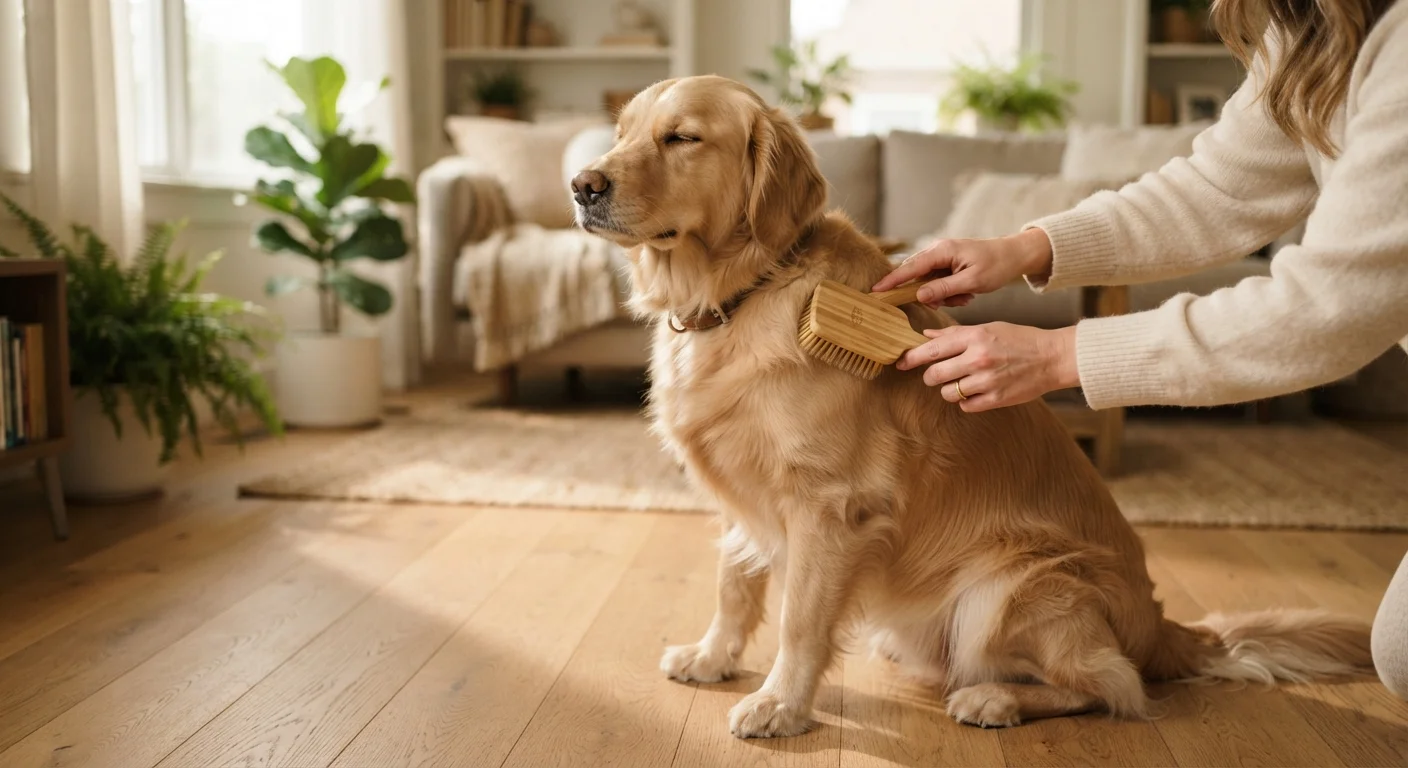
Photo: BridgeWish.com | Reliable Source Of Information editorial
Key Takeaways
- Grooming frequency depends heavily on coat type — short coats need far less attention than long or double coats.
- Using the right tool for your pet's coat prevents discomfort and avoids damaging the fur or skin.
- Short, positive grooming sessions from an early age help pets accept handling calmly over time.
- Skin changes, lumps, or unusual odors noticed during grooming are worth flagging to your veterinarian.
- Cats and dogs have different grooming needs — never assume the same routine works for both.
Matching Your Grooming Routine to Your Pet's Coat
No two coats are alike, and a grooming schedule that suits a Labrador will leave a Bernese Mountain Dog matted and miserable. Understanding your pet's coat category is the single most important step before you pick up any tool.
Short and smooth coats (e.g., Beagles, domestic shorthair cats)
These coats lie flat and shed loosely. A weekly brush with a rubber grooming mitt or soft bristle brush removes dead hair and distributes natural oils. Beyond that, most short-coated pets are low maintenance between sessions.
Medium-length coats (e.g., Golden Retrievers, Maine Coons)
Brushing two to three times per week prevents tangles around the ears, legs, and belly — the spots most prone to knotting. A slicker brush paired with a stainless steel comb works well for this category.
Long and silky coats (e.g., Yorkshire Terriers, Persian cats)
Daily brushing is typically necessary to prevent painful matting. Fine-toothed combs and detangling sprays help manage these high-maintenance coats. If mats form frequently, a shorter maintenance trim from a professional groomer may be worth discussing.
Double coats (e.g., Huskies, Shetland Sheepdogs, Norwegian Forest Cats)
The dense undercoat sheds heavily, especially seasonally. An undercoat rake or deshedding brush used two to three times weekly — daily during shedding season — manages loose fur without stripping the protective outer layer. Never shave a double-coated dog without veterinary guidance; the double coat provides insulation in both cold and warm weather.
Rubber grooming mitt or soft bristle brush
Removes loose hair and debris from short, smooth coats without irritating the skin.
Slicker brush
Detangles and smooths medium to long coats, reaching beneath the surface layer.
Stainless steel comb
Checks for remaining tangles after brushing, especially around ears, legs, and tail.
Undercoat rake or deshedding brush
Removes loose undercoat fur from double-coated breeds without damaging the outer guard hairs.
Detangling spray (pet-formulated)
Loosens knots in long or silky coats before brushing, reducing pulling and discomfort.
Pet nail clippers or grinder
Trims nails to a safe length during grooming sessions to prevent overgrowth or splitting.
Soft treats
Rewards calm behavior during grooming, reinforcing a positive association with the routine.
Grooming also gives you a regular opportunity to check your pet's skin, ears, eyes, and nails. Any lumps, redness, unusual odor, or changes in coat texture are worth a conversation with your vet. For broader health monitoring guidance, explore the Pet Health & Vet hub.
Step-by-Step: How to Groom Your Pet at Home
A calm, organized approach makes a real difference — for your pet and for you. Follow these steps to build a routine that feels manageable rather than stressful. If your pet is particularly anxious around grooming, our companion article on grooming nervous pets offers additional desensitization strategies.
What you will need
Set the space and let your pet settle
Choose a calm, well-lit area free of loud distractions. Let your pet sniff the grooming tools before you begin. For a dog, a non-slip bath mat on the floor works well; for a cat, a raised, stable surface they feel secure on is often better. Spend a minute simply petting them before introducing any tools.
Begin with a light once-over by hand
Run your hands gently along your pet's body from neck to tail and down each leg. You're feeling for any lumps, sensitive spots, mats, or skin irregularities. If your pet reacts sharply to a particular area, pause and make a note — persistent sensitivity in one spot warrants a vet check rather than pushing through.
Brush in sections, working with the coat direction
Start at the head and work toward the tail, always brushing in the direction the coat naturally lies. For long or double coats, part the fur and work in layers rather than dragging the brush across the surface. Pay extra attention to friction points: behind the ears, under the 'armpits,' and around the collar area, where mats form fastest.
Follow with a comb check for long and medium coats
After brushing, run a stainless steel comb through the coat to catch any tangles the brush missed. The comb should move through the fur without snagging. Any resistance indicates a hidden mat that needs attention. Work these out gently with your fingers or a detangling spray rather than forcing the comb through.
Check ears, eyes, and nails
Gently fold back each ear flap and look for redness, discharge, or unusual odor — all signs worth mentioning to your vet. Wipe any visible debris from around the eyes with a damp cotton pad (use a fresh pad for each eye). For nails, check whether the tips have curled or are clicking loudly on hard floors; if so, a trim is due. If you're new to nail trimming, ask your vet or groomer to demonstrate the correct technique first.
Reward and close the session positively
End every grooming session — even a partial one — with praise and a treat. This conditions your pet to associate the routine with something good. Over time, most pets become noticeably more relaxed about grooming. Building these calm habits early is similar to establishing any other routine; the guide on building training routines that stick offers useful principles that translate well to grooming practice.
Start Grooming Habits Early — But It's Never Too Late
Pair grooming with other aspects of your care routine. Dental hygiene, for instance, is another area where home practice between professional visits pays off — see why pets need dental care for practical guidance.
This article provides general pet care information and is not a substitute for professional veterinary advice. Always consult your veterinarian about grooming concerns specific to your pet's breed, age, or health condition.
The content on this site is for informational purposes only and is not a substitute for professional advice. Always consult a qualified professional for guidance specific to your situation.