
Building a Flavorful Stock from Scratch

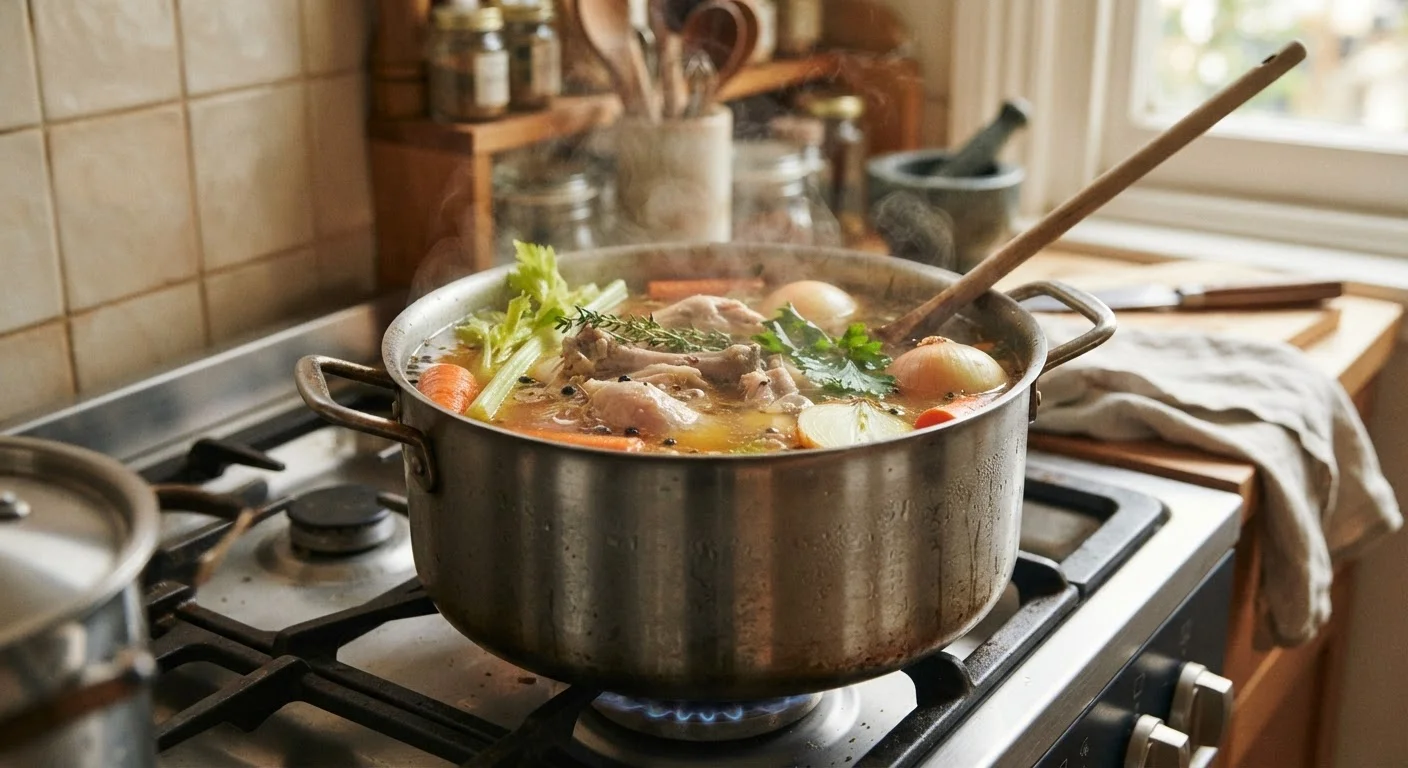
Photo: BridgeWish.com | Reliable Source Of Information editorial
Key Takeaways
- Cold water and a slow simmer extract the clearest, most flavorful stock.
- The classic aromatic trio — onion, carrot, and celery — forms the flavor backbone of most stocks.
- Skimming foam in the first 20 minutes prevents a muddy, bitter final result.
- Stock can be refrigerated for up to five days or frozen for several months.
- Salting lightly during cooking gives you more control over the final seasoning.
Why Homemade Stock Is Worth the Effort
Store-bought broth is convenient, but it can't replicate what a homemade stock offers: body from dissolved collagen, nuanced depth from slowly coaxed aromatics, and the ability to control sodium entirely. When stock reduces into a sauce or braise, that body becomes gelatin — the silky quality that makes a sauce cling to pasta or coat a piece of meat. It's not magic; it's technique.
Stock also belongs in a well-stocked home kitchen as a foundational ingredient. A good stock transforms a simple pan sauce, lifts a grain dish, and gives weeknight soups a complexity that water simply cannot provide. Once you've made a batch, the technique becomes second nature.
What you will need
Ratios and Ingredient Choices That Matter
The basic ratio for stock is roughly 1 part bones to 1–1.5 parts cold water by volume, with aromatics making up about 10–15% of the total volume. The classic aromatic combination — mirepoix in French culinary tradition — is two parts onion to one part each carrot and celery. These three vegetables provide sweetness, earthiness, and a savory, slightly bitter backbone that balances the richness of bones.
Herb choices are flexible, but a classic bouquet garni — parsley, bay, thyme — works for virtually every stock type. Avoid strongly flavored brassicas like broccoli or cabbage, which can turn a stock bitter. Similarly, starchy vegetables like potatoes will cloud the liquid and add little flavor in return.
The principles of building flavor that experienced cooks apply to finished dishes are the same ones at work in a simmering stock: balance between savory depth, a little sweetness, and aromatic brightness.
Large stockpot (8–12 quart)
Provides enough volume to hold bones, vegetables, and water without overcrowding.
Fine-mesh strainer
Strains out solids cleanly to produce a clear, smooth stock.
Cheesecloth
Lines the strainer to capture fine particles for an especially clear result.
Ladle
Used to skim foam from the surface and to transfer finished stock.
Storage containers or zip-top freezer bags
Hold cooled stock in the refrigerator or freezer for later use.
The Steps: From Pot to Storage
Follow the steps below carefully, especially the guidance on water temperature, skimming, and simmer speed — these three variables determine whether your stock ends up clear and flavorful or cloudy and flat.
Prepare and optionally roast your bones
For chicken stock, a raw carcass or raw chicken pieces work well. For a deeper, richer color and flavor — particularly with beef or pork bones — roast the bones on a sheet pan at 425°F for 25–30 minutes until browned. This caramelization adds savory complexity through a process called the Maillard reaction. Skip roasting if you prefer a lighter, more neutral stock.
Add bones and cold water to the pot
Place bones in your stockpot and cover with cold water — typically about 3 quarts of water per 3–4 pounds of bones. Starting cold is essential: it draws proteins out gradually, which helps you skim them away before they cloud the stock. Bring the pot slowly to a bare simmer over medium heat; do not boil aggressively.
Skim the foam
As the water approaches a simmer, gray-brown foam will rise to the surface. Use a ladle or large spoon to skim this off every few minutes for the first 15–20 minutes. This foam is coagulated protein and impurities; removing it is the single biggest step toward a clear, clean-tasting stock.
Add aromatics and herbs
Once the foam has mostly subsided, add your aromatics: roughly chopped onion (halved, skins on for color), celery stalks, and carrot pieces. Add a few parsley stems, a bay leaf or two, a small sprig of thyme, and a small handful of whole black peppercorns. No need to peel or dice neatly — these are flavor vehicles, not the finished dish. Add only a small pinch of salt at this stage.
Simmer low and slow
Maintain a very gentle simmer — bubbles should break the surface lazily, not aggressively roll. For chicken stock, simmer 3–4 hours. For beef or pork, 6–8 hours yields the best result. Simmering too hard emulsifies fat into the liquid, creating a greasy, murky stock. Avoid stirring; let the liquid work quietly.
Strain, cool, and store
Set a fine-mesh strainer over a large bowl or second pot. Ladle or carefully pour the stock through, discarding all solids. Let the strained stock cool at room temperature for no more than an hour, then refrigerate uncovered until fully chilled. A layer of fat will solidify on top — skim it off before using, or leave it as a flavor and storage seal. Refrigerate for up to 5 days or freeze in labeled portions for several months.
Make Stock a Zero-Waste Habit
Cool Stock Safely Before Refrigerating
Using and Storing Your Stock
Chilled stock that has set into a loose gel is a sign of success — that gel is dissolved collagen, and it means your stock has real body. It will liquefy again when heated. A properly made stock can be used directly in soups, deglazing pans for sauces, cooking grains, or braising vegetables and proteins.
For recipes that call for seasoning throughout the process, your homemade stock's low initial salt content is an advantage — you control the final flavor. This aligns with the broader habit of tasting as you go, which gives cooks real-time feedback at every stage. Frozen stock keeps well for up to three months when stored in airtight containers; label each portion with the type and date for easy identification.
Don't Salt Heavily at the Start
The content on this site is for informational purposes only and is not a substitute for professional advice. Always consult a qualified professional for guidance specific to your situation.