
How to Pack a Personal Item That Actually Pulls Its Weight

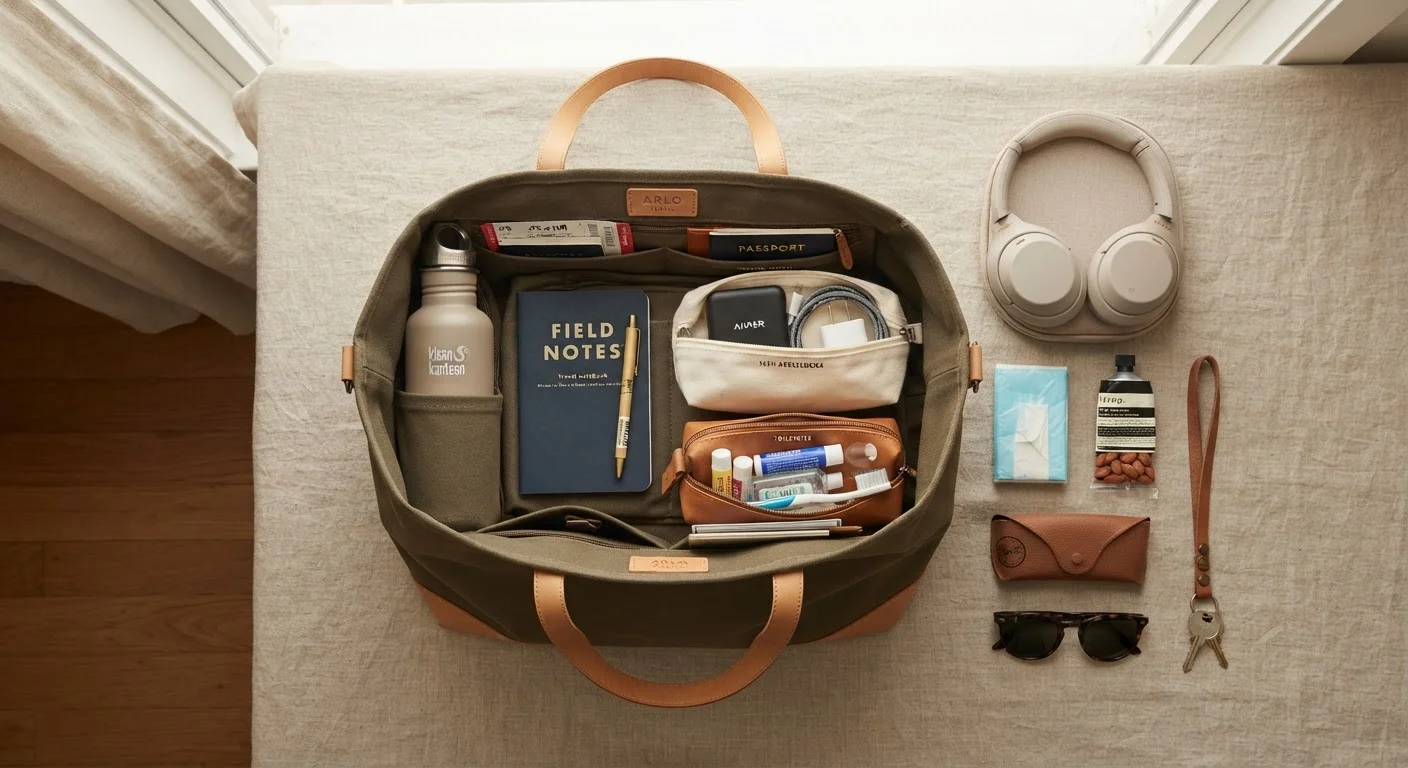
Photo: BridgeWish.com | Reliable Source Of Information editorial
Key Takeaways
- Your personal item should handle all in-flight needs so your overhead bag stays closed during the flight.
- Assigning zones inside your bag prevents digging and keeps essentials instantly reachable.
- Liquid toiletries, tech, and documents belong in your personal item — not buried in a checked bag.
- Keeping your personal item under its size limit protects you from gate-check fees.
- A well-packed personal item effectively expands your total carry-on capacity without extra cost.
Why Most Personal Items Are Wasted Space
The personal item is one of the most underused tools in a traveler's toolkit. Most people treat it as a purse plus a snack bag — a loose collection of things tossed in at the last minute. The result is a bag that's either overstuffed with the wrong things or half-empty while the carry-on overhead does all the heavy lifting.
Done right, your personal item essentially expands your total packing capacity without adding a bag to your ticket. It handles the journey itself — keeping everything you need during transit within arm's reach — while freeing your overhead bag to hold destination items untouched until you land. If you've ever found yourself unzipping your carry-on mid-flight to dig for headphones or a charger, that's a signal your personal item wasn't doing its job.
Understanding why packing light pays off is the foundation here — and the personal item is where that logic gets its clearest application. Less clutter, better access, fewer frustrations.
What you will need
What You'll Need Before You Start
Personal item bag
The main container — must fit under the seat in front of you per your airline's guidelines.
Small zip pouches or organizer inserts
Keeps categories of items separated and easy to grab without unpacking everything.
TSA-compliant quart-sized clear bag
Required for carrying liquids through airport security in containers of 3.4 oz or less.
Packing cubes (slim or half-size)
Compresses soft items like a change of clothes or a light layer to maximize interior space.
You don't need a fancy system or expensive gear to pull this off. The key is having a bag that fits your airline's requirements and a few simple organizers that keep categories separated. If you're curious about how packing cubes and other organizers compare, this breakdown of luggage organizers is a helpful starting point.
Step-by-Step: Pack Your Personal Item With Purpose
Check your airline's personal item size limit
Before you pack a single item, look up the exact personal item dimensions for your airline. Rules vary — what fits on one carrier may trigger a gate-check fee on another. Measure your bag when it's fully packed, not just empty, since contents can push out the sides.
Decide what your personal item is actually for
Think of your personal item as your in-flight office and comfort kit — not overflow space for your carry-on. Its job is to hold everything you'll need during the journey itself: entertainment, snacks, documents, a light layer, and anything you might need during a layover. Keeping this purpose clear prevents you from packing it with items that belong in your overhead bag.
Assign zones inside the bag
Divide your personal item into three functional zones:
- Front or top pocket: Items you need at security (ID, boarding pass, liquids bag, laptop if required)
- Middle section: In-flight comfort items — headphones, snacks, lip balm, a light scarf or layer
- Bottom or back compartment: Items you won't touch until you land — a small change of clothes, charger, or reading material
Consistent zones mean you stop digging and start grabbing.
Pack your security essentials in the most accessible spot
Place your travel documents, ID, and TSA liquids bag in an outer pocket or the very top of the main compartment. At security, you want these out in five seconds — not after you've unpacked half the bag onto the conveyor belt. Keep your laptop or tablet here too if your airline or TSA requires it to be removed separately.
Add your in-flight comfort layer
This is where most travelers waste space. A bulky jacket stuffed in here eats the entire middle section. Instead, pack a packable layer — a lightweight down jacket, a thin zip-up, or a large scarf that doubles as a blanket. These compress dramatically and still provide warmth on a cold flight.
Include a just-in-case kit
Tuck in a small pouch with a few items you'd desperately want if your checked bag or carry-on were delayed: a clean pair of underwear, a travel-size deodorant, any prescription medications, and your phone charger. This kit adds minimal weight but enormous peace of mind. For more on what gear consistently earns its place, see packing essentials that solve real travel problems.
Do a final weight and size check
Lift the packed bag with one hand. If it's straining your wrist, it's too heavy for the underseat space and your own comfort walking through terminals. Compress or redistribute anything that feels excessive. Then check the dimensions one more time — a bag that barely fit empty may now exceed limits. Adjust before you leave home, not at the gate.
Repack After Every Trip
Once you've worked through these steps a couple of times, the whole process takes about 15 minutes. The payoff is real: you'll move through airports faster, stress less about overhead bin space, and actually know where everything is when you need it. For a broader look at what commonly makes bags feel overloaded, this guide on why bags feel too heavy covers the patterns worth breaking.
Adapting This System for Different Trip Lengths
For a day trip or short domestic flight, your personal item may be the only bag you need — pare it down to documents, devices, and a single outfit. For longer trips, the same zoning strategy applies, but the just-in-case kit becomes more important: if a multi-leg itinerary goes sideways, what's in that bag may be all you have access to for 24 hours.
Traveling for multiple weeks? Your personal item's role stays the same — it's still about in-transit access, not total clothing storage. Packing light across multi-week trips requires a different mindset for your main bag, but the personal item logic holds regardless of trip length.
Don't Treat It as Carry-On Overflow
The content on this site is for informational purposes only and is not a substitute for professional advice. Always consult a qualified professional for guidance specific to your situation.