
Safe Driving

Pre-Trip Vehicle Safety Walkthrough

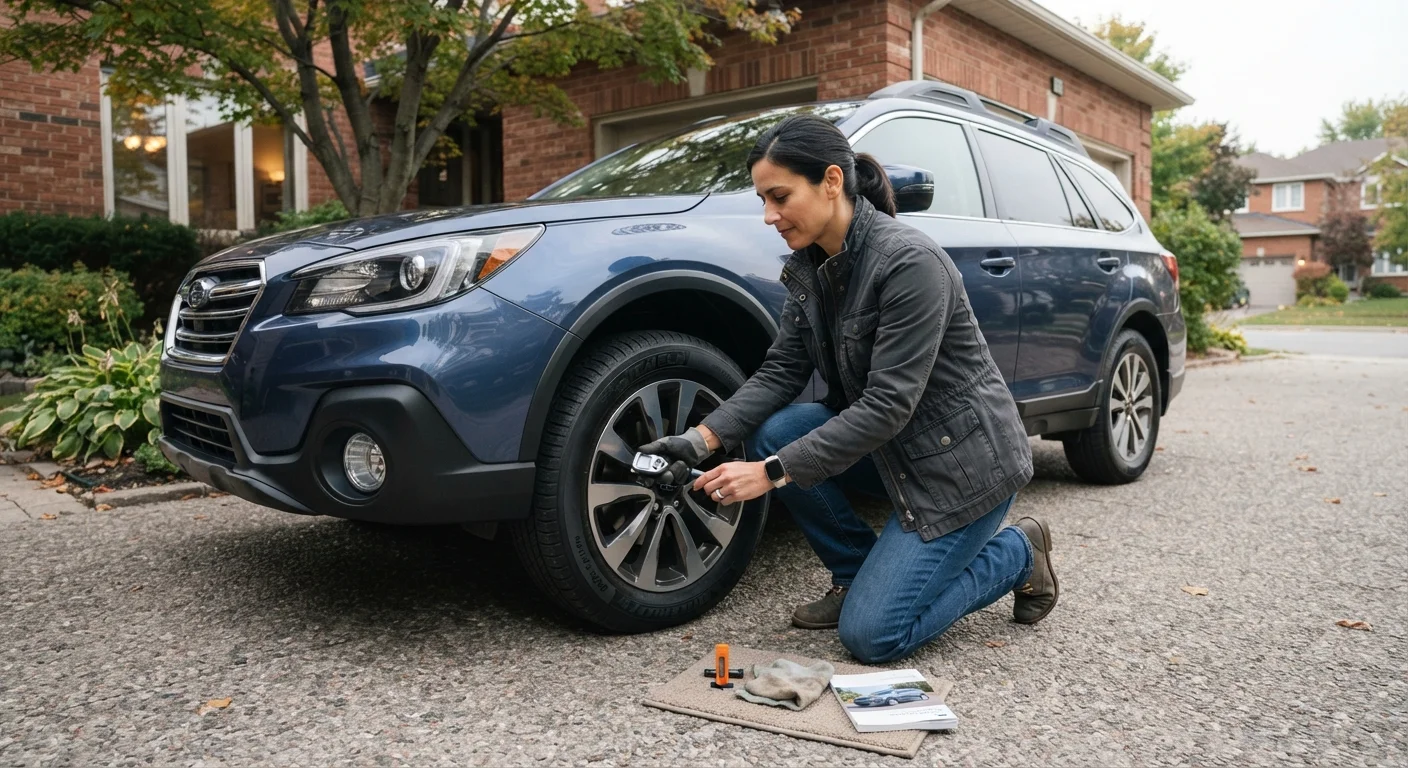
Pre-Trip Vehicle Safety Walkthrough

Photo: BridgeWish.com | Reliable Source Of Information editorial

A practical walkthrough covering tires, lights, mirrors, and fluids to check before any drive — short trip or long road journey.

Key Takeaways

  • Most pre-trip checks take under 10 minutes and require no tools.
  • Tire pressure, tread depth, and fluid levels are the highest-priority items before any drive.
  • Lights and mirrors affect both your visibility and how other drivers see you — check them every time.
  • Catching a small issue in the driveway is far safer and cheaper than discovering it on the road.
  • Long road trips warrant a more thorough inspection than a typical daily commute check.

Why a Quick Walkthrough Matters Every Time

Most vehicle problems that lead to roadside emergencies don't appear without warning — they build gradually, and a quick pre-trip check is often the moment they get caught. Whether you're backing out for a grocery run or loading up for a long road trip, a systematic walkthrough of your vehicle takes only minutes but can flag a low tire, a burned-out brake light, or a fluid leak before it becomes a safety issue or a breakdown.

This checklist is organized so you can work from the outside of the vehicle inward, then finish under the hood — a logical sequence that minimizes the chance of missing anything. For a deeper look at fluid-specific checks you can do in your driveway, see the fluid checks walkthrough that covers engine oil, coolant, brake fluid, and more. For pre-trip planning beyond the vehicle itself, the pre-road-trip vehicle checklist covers what to verify before any long drive.

Exterior & Tires

Check tire pressure on all four tires using a gauge and compare to the placard inside the driver's door jamb — not the maximum PSI on the sidewall. Must
Inspect tire tread depth visually; use a quarter or penny test if you're unsure — Lincoln's head fully visible means the tire is dangerously worn. Must
Walk around the entire vehicle and look for any visible damage, fluid puddles on the ground, or objects lodged in tires. Must
Check that the spare tire is present and properly inflated if your vehicle carries one. Should

Lights & Signals

Turn on headlights (low and high beam) and confirm both sides are functioning and properly aimed. Must
Activate your turn signals, brake lights, and hazard lights — have someone stand behind the vehicle or use a reflective surface to verify. Must
Check that license plate lights and reverse lights illuminate when engaging reverse gear. Should

Mirrors & Visibility

Adjust the driver's side mirror, passenger's side mirror, and rearview mirror before moving the vehicle. Must
Clear all windows and mirrors of frost, condensation, dirt, or debris — do not drive with obstructed visibility. Must
Test windshield wipers and confirm washer fluid is available if weather or road spray is expected. Should

Under the Hood

Check engine oil level with the dipstick — wipe it clean, reinsert fully, and read the level on the second pull. Must
Inspect coolant level in the overflow reservoir when the engine is cold; never open the radiator cap on a hot engine. Must
Glance at brake fluid and power steering fluid reservoirs to confirm they're within the normal operating range. Should
Look for any obvious signs of leaks, frayed belts, or loose hose connections under the hood. Should

In-Cabin Checks

Start the engine and check that no warning lights remain illuminated after the initial startup self-test. Must
Test the horn briefly before pulling out of the driveway. Should
Confirm the fuel level is adequate for your planned trip with a reasonable buffer. Must
Verify your emergency kit is present — at minimum: a flashlight, jumper cables or a jump starter, a first-aid kit, and a reflective triangle or flares. Nice to have

What You Need for This Walkthrough

You don't need a mechanic's toolkit to complete this checklist. Most checks are visual or tactile — things you can do in your driveway before you start the engine. A few inexpensive tools make the inspection faster and more accurate.

Required

Tire Pressure Gauge

Measures PSI in each tire accurately — digital or stick-type both work.

Required

Penny or Quarter

Used to perform a quick tread depth check without specialized equipment.

Optional

Flashlight or Phone Light

Helps inspect tires, under the hood, and lights in dim conditions.

Required

Clean Rag or Paper Towel

Needed to wipe the oil dipstick cleanly for an accurate reading.

Never Check Coolant on a Hot Engine

Opening the radiator cap or coolant reservoir when the engine is at operating temperature can cause pressurized coolant to spray and cause serious burns. Always wait at least 30 minutes after driving before inspecting coolant levels, or perform the check before starting the engine cold.

Reading the Results: When to Drive, When to Wait

Not every issue you find means the car is undriveable — but some do. A tire that's 5 PSI low can be driven cautiously to a nearby air pump. A tire with visible cord damage or a sidewall bulge should not be driven at all. Use the same judgment across the checklist: if a problem affects your ability to stop, steer, see, or be seen, treat it as a no-drive condition until resolved.

Understanding what the numbers on your tires mean is essential context for any tire check. The tire pressure and tread depth guide explains sidewall markings, correct inflation targets, and how to measure tread depth accurately. For broader guidance on keeping your vehicle road-ready over time, the car ownership and maintenance resource is a comprehensive reference covering brakes, seasonal prep, and professional service intervals.

Dashboard Warning Lights Are Not Optional

If a warning light stays on after startup — particularly the brake warning, oil pressure, engine temperature, or tire pressure (TPMS) light — do not dismiss it and drive anyway. These systems exist to alert you to conditions that can rapidly escalate into vehicle failure or loss of control. If you're unsure what a warning light means, consult your owner's manual or have the vehicle inspected by a qualified mechanic before driving.

Autos Editorial Team

BridgeWish.com | Reliable Source Of Information

Autos Editorial Team is the collective byline for our editorial team and contributor network. Articles published under this byline or an editorial pen name are researched, written, and reviewed according to our editorial standards for clarity, consistency, and independence before publication.

Car MaintenanceBuying & OwningSafe Driving
View author profile

The content on this site is for informational purposes only and is not a substitute for professional advice. Always consult a qualified professional for guidance specific to your situation.