
Heat, Time, and Texture: Understanding Doneness Without a Thermometer

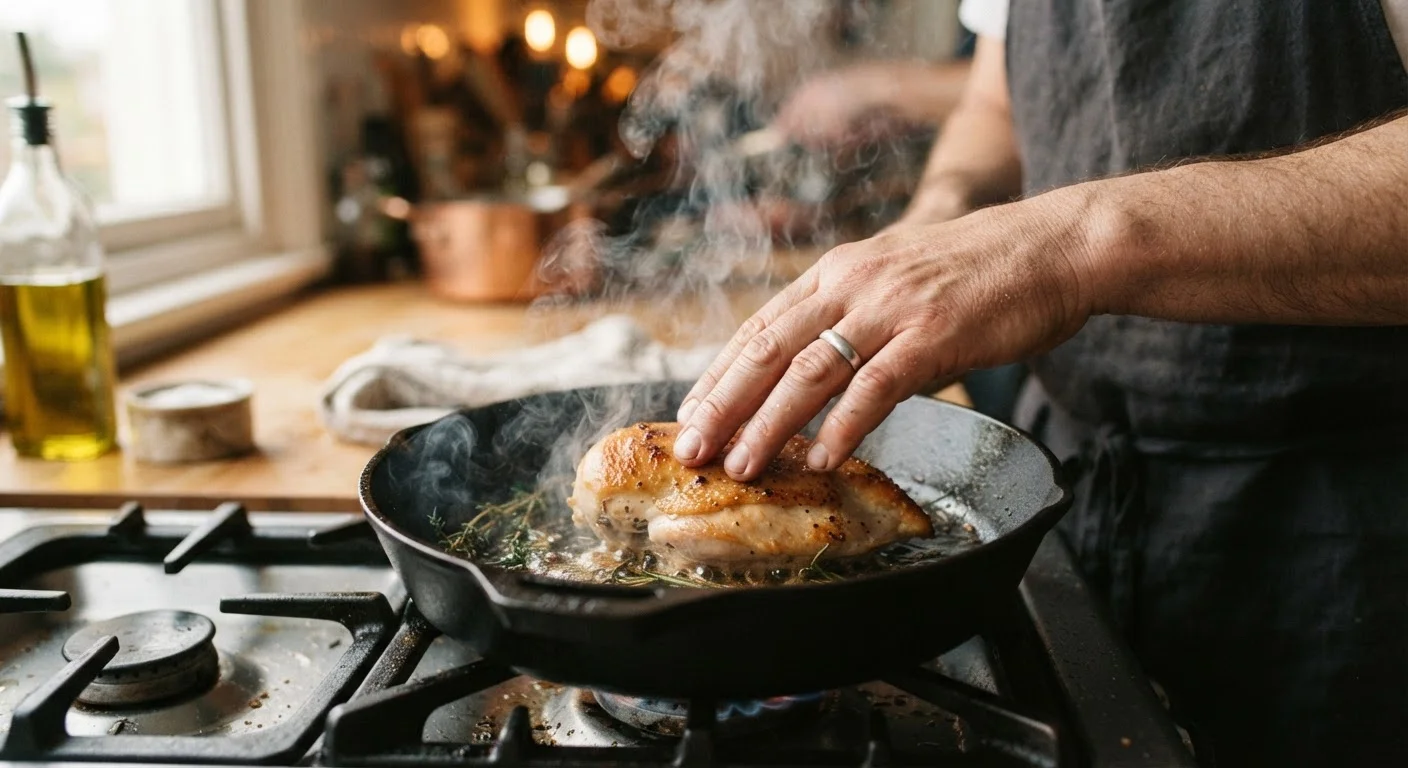
Photo: BridgeWish.com | Reliable Source Of Information editorial
Key Takeaways
- Color, texture, and resistance are reliable doneness cues for most everyday cooking.
- The finger-press test helps gauge how firm cooked meat should feel at different levels.
- Carryover cooking continues after heat is removed — pull food slightly before it looks done.
- Vegetables signal readiness through color change, aroma, and how easily a knife slides through.
- Eggs shift from translucent to opaque and from loose to set as they reach doneness.
- Developing these sensory skills makes you a more adaptable, confident cook at any level.
Why Sensory Cues Work
A thermometer is a useful tool — but it's not the only one. Experienced cooks have always relied on sight, sound, smell, and touch to judge doneness, and these cues are grounded in real food science. Heat changes the physical and chemical structure of proteins, starches, and water, and those changes are visible, audible, and tactile long before you reach for a probe.
Understanding why these cues work makes them easier to trust. Proteins in meat and eggs coagulate — they tighten and firm up — as internal temperature rises. Moisture evaporates, surfaces brown through the Maillard reaction, and cell walls in vegetables soften. Each of these processes leaves a detectable signal. Learning to read those signals is the foundation of cooking intuition.
This is also why controlling pan temperature matters so much — consistent heat creates predictable cues. An uneven pan makes it hard to trust what you see and feel.
Sound Is an Underrated Doneness Cue
Reading Doneness by Food Type
Different foods give different cues. Here's how to interpret them confidently.
Meat and Poultry
The most practical non-thermometer method for thicker cuts is the finger-press test. Press the center of the meat with a fingertip: very soft and yielding means rare; a slight spring-back with some give means medium; firm with minimal give means well done. Raw meat feels similar to the fleshy part of your palm when relaxed; well-done meat feels more like the muscle when you make a tight fist. This takes practice, but it becomes reliable quickly.
Visual cues reinforce touch. Juices running clear (rather than pink) from poultry are a traditional sign of doneness, though this is best used alongside other indicators. On the stovetop, color change creeping up the sides of a burger or chop tells you how far heat has penetrated from the bottom.
Fish
Fish transitions from translucent to opaque as it cooks. For a fillet, watch the color change travel from the edges inward — when opacity reaches the center, the fish is done or nearly so. Flaking is another cue: properly cooked fish separates into natural segments when pressed gently with a fork. Overcooked fish flakes apart too easily and feels dry.
Eggs
Eggs are among the most readable foods in the kitchen. Whites shift from clear to fully white and set; yolks firm from liquid to gel to solid. For scrambled eggs, pull them from heat while they still look slightly underdone — carryover cooking finishes the job. A fried egg is ready when the white is fully opaque with no jiggling translucency near the yolk.
Vegetables
A paring knife or fork tine inserted into a root vegetable like a carrot or potato tells the whole story: if it slides in with little resistance, it's done. Tender vegetables like asparagus or green beans should bend slightly without snapping. Bright color intensification followed by a shift toward dull olive-green signals that you're approaching and then passing the sweet spot — pull leafy or green vegetables just as they turn vivid.
These skills pair naturally with tasting as you go — combining sensory input from multiple sources gives you a much clearer picture of where a dish stands.
Visual Cues Alone Are Not Always Sufficient for Food Safety
How to Build These Skills Step by Step
Like any technique, sensory doneness cues improve with deliberate practice. The steps below walk you through building this awareness in your own kitchen.
Start with a food you cook regularly
Choose one protein or vegetable you already make often — a chicken breast, a pan of green beans, or a fried egg. Familiar cooking conditions give you a reliable baseline so you can focus on observing cues rather than managing an unfamiliar recipe.
Observe before you touch
Before pressing or probing anything, take a moment to look and listen. Note the color of the surface, whether steam is rising steadily or slowing, and how the sizzle sounds — a loud, aggressive sizzle means moisture is still escaping; a quieter sound often signals the surface is drying and browning. These visual and auditory cues narrow down where you are in the cooking process.
Practice the press test on meat
With the back of a clean fork or a fingertip, press the thickest part of the meat gently. Notice how much it yields. Over several cooking sessions, correlate that resistance with the result when you slice — you'll begin to feel the difference between rare, medium, and well-done with increasing accuracy.
Account for carryover cooking
Remove food from heat slightly before it reaches your target cue. Residual heat continues cooking the interior for one to several minutes depending on the thickness and density of the food. Thick steaks and roasts carry over significantly; thin fillets and vegetables carry over very little. Pulling a little early prevents overcooking while you plate.
Cross-check with a thermometer occasionally
In your early practice sessions, use a food thermometer after you've made your sensory call — not before. This turns the thermometer into a teaching tool rather than a crutch. Compare your prediction to the actual reading and adjust your sensory calibration accordingly. Over time, your predictions will become consistently accurate.
As you develop these instincts, you'll also start to notice how heat interacts with the other forces of flavor — browning, moisture retention, and texture are all connected to how and when heat is applied. And when you're ready to season with confidence, adjusting flavor without a recipe becomes the natural next step.
This article is for general informational and educational purposes. Food safety guidelines from authoritative sources such as the USDA recommend using a food thermometer for certain foods, especially poultry, ground meats, and dishes served to vulnerable populations including young children, pregnant individuals, older adults, and those with compromised immune systems. When in doubt, verify with a thermometer.
The content on this site is for informational purposes only and is not a substitute for professional advice. Always consult a qualified professional for guidance specific to your situation.