
Why Your Pan Temperature Matters More Than Your Recipe

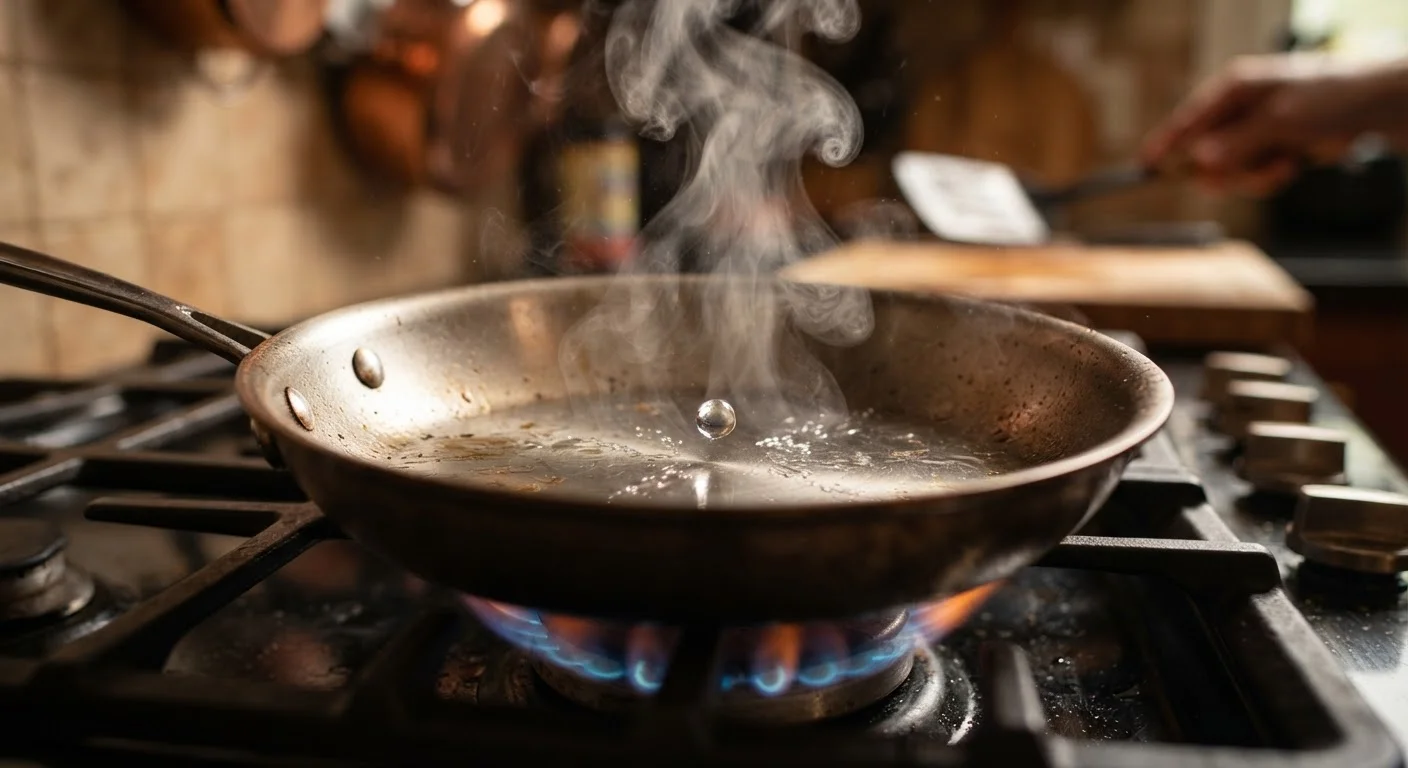
Photo: BridgeWish.com | Reliable Source Of Information editorial
Key Takeaways
- Pan temperature directly controls browning, sticking, and flavor — not just cooking speed.
- A properly preheated pan reduces sticking on stainless steel and promotes even searing.
- The water droplet test is a simple, reliable way to gauge pan readiness without a thermometer.
- Adding food to a cold or underpowered pan causes steaming instead of searing.
- Different cooking tasks require different heat levels — high heat isn't always better.
- Your pan material affects how it holds and distributes heat, which changes how you manage temperature.
What a Recipe Can't Tell You
Most recipes specify ingredients, timing, and techniques — but they rarely explain why heat matters or how to read it. Instructions like "heat oil in a pan over medium-high" assume you know what that looks and feels like. For many home cooks, that gap is the source of sticking, burning, and disappointing results.
The truth is that pan temperature is one of the most consequential variables in stovetop cooking. It shapes texture, color, and flavor in ways that no amount of seasoning or technique can compensate for after the fact. Understanding it gives you control that a recipe alone never can.
For a deeper look at how heat interacts with different stovetop methods, see the real difference between sautéing, stir-frying, and pan-frying.
The Science Behind the Sear
When food hits a properly heated pan, something immediate and important happens: surface moisture evaporates rapidly, and the food's exterior begins to brown. This browning — driven by the Maillard reaction — is not just visual. It creates hundreds of flavor compounds responsible for the savory, complex taste of well-cooked meat, vegetables, and grains.
For this reaction to occur, the food's surface must reach a high enough temperature. If your pan isn't hot enough, moisture accumulates faster than it can escape, and the food effectively steams in its own liquid. The result: pale, soft, sometimes rubbery food that lacks the depth of a properly seared version.
280–330°F
Temperature range where Maillard browning begins
The Maillard reaction — responsible for savory browning — generally requires food surface temperatures in this range, according to food science literature.
~2 min
Average preheat time for a stainless steel pan
Most stainless steel pans reach cooking-ready temperature in roughly 2 minutes over medium-high heat, though this varies by burner and pan thickness.
375°F+
Typical smoke point threshold for common cooking oils
Many refined oils commonly used for high-heat cooking — such as refined avocado or refined sunflower oil — have smoke points above 375°F, per USDA and culinary sources.
Conversely, a pan that's too hot can scorch the surface before the interior has time to cook, especially with thicker cuts or delicate proteins like fish. The goal isn't maximum heat — it's appropriate heat for the task.
How to Read Your Pan Without a Thermometer
You don't need special equipment to gauge pan temperature. Two simple techniques work reliably:
- The water droplet test: Add a few drops of water to a dry pan. If they bead up and dance across the surface before evaporating (the Leidenfrost effect), the pan is in the right zone for most searing tasks. If they instantly flash-evaporate, the pan may be too hot. If they just sit and slowly sizzle, it needs more time.
- The oil shimmer test: Add a small amount of oil and watch it. When the oil flows easily and begins to shimmer with thin ripples, the pan is ready. Wisps of smoke indicate the oil is approaching its smoke point — a signal to add food quickly or reduce heat.
Preheat Your Pan Before Adding Oil
For more on pairing the right oil with the right temperature, see cooking oils decoded: smoke points, flavor, and best uses.
Matching Heat Level to the Task
Not every dish needs high heat. Here's a practical breakdown:
- High heat
- Best for searing steaks, stir-frying vegetables quickly, and achieving a hard crust on proteins. Short cooking windows, constant attention required.
- Medium-high heat
- The workhorse setting for most sautéed dishes, chicken breasts, and pork chops. Enough heat to brown without the risk of burning delicate surfaces.
- Medium heat
- Ideal for eggs, fish fillets, and sauces where gentler, even cooking matters more than rapid browning.
- Low heat
- For warming, slow reductions, and keeping food at temperature without further cooking.
Your pan material plays a role here too. Cast iron holds heat intensely and is slow to cool, while stainless steel is more responsive to burner adjustments. See cast iron vs. stainless steel: choosing the right pan for a full comparison.
Building Temperature Awareness as a Habit
Temperature control improves with attention and repetition. A useful practice: before adding anything to the pan, pause and ask what you want to achieve — a crust, a gentle cook, a quick sauté? Let that goal guide your heat setting, not just the recipe's generic instruction.
It also helps to understand your stove's quirks. Most home burners have hot spots that can cause uneven cooking. Understanding heat zones on your stovetop and oven can help you identify and work around them.
Over time, reading your pan becomes intuitive. You'll recognize the shimmer, hear the right sizzle, and know when to add your food — without second-guessing every step.
Frequently Asked Questions
The content on this site is for informational purposes only and is not a substitute for professional advice. Always consult a qualified professional for guidance specific to your situation.