
Why Caulk Fails — and When to Reapply It

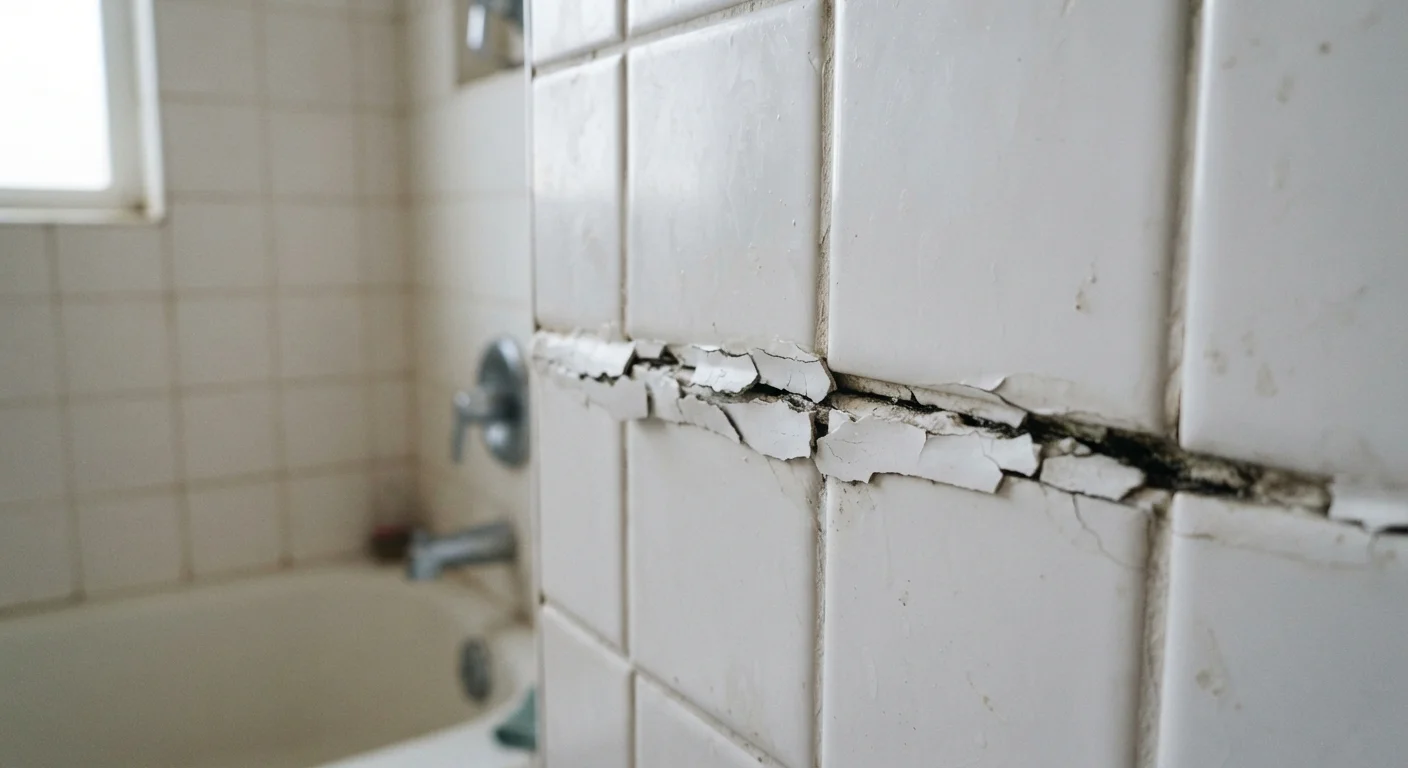
Photo: BridgeWish.com | Reliable Source Of Information editorial
Key Takeaways
- Caulk typically lasts 5–10 years before shrinking, cracking, or losing adhesion.
- Moisture, temperature swings, and improper application are the leading causes of caulk failure.
- Applying new caulk over old, failed caulk traps moisture and shortens the repair's lifespan.
- Different caulk formulas suit different surfaces and should be matched accordingly.
- Annual inspections around windows, doors, and wet areas catch failure before water damage sets in.
Why Caulk Breaks Down Over Time
Caulk is a flexible sealant, and that flexibility is exactly what makes it effective — and what eventually causes it to fail. As building materials expand and contract with temperature changes, caulk stretches and compresses thousands of times over its lifespan. Most caulk formulas hold up for roughly 5 to 10 years under normal conditions, though high-moisture or high-UV areas can shorten that considerably.
The most common failure modes are:
- Shrinkage and cracking — as caulk ages, it loses plasticizers and becomes brittle, eventually cracking under movement stress.
- Adhesion failure — moisture, grease, or dust at the time of application prevents a proper bond, leading to separation from one or both surfaces.
- Mildew degradation — in wet areas, persistent moisture breaks down latex-based caulks and discolors silicone over time.
- Improper application — applying new caulk over old, using the wrong formula for the surface, or caulking in cold temperatures (below about 40°F) all reduce longevity significantly.
Understanding these causes helps you do more than just patch a problem — it helps you prevent repeat failures. For broader context on how moisture infiltrates homes through multiple entry points, see our guide on managing moisture in crawl spaces and basements.
Never Caulk Over Mold or Active Moisture
Tools and Materials You'll Need
Recaulking is a low-cost maintenance task, but having the right materials on hand makes the difference between a seal that lasts a year and one that holds for a decade. Before you begin, gather the following:
Utility knife or oscillating tool
Cuts through and lifts old caulk cleanly from joints without damaging the surrounding surface.
Caulk remover (chemical)
Softens stubborn silicone or hardened caulk to make manual removal easier.
Caulk gun
Provides steady, controlled pressure for an even bead of caulk.
Painter's tape
Masks edges for a straight, professional-looking bead.
Caulk finishing tool or damp finger
Smooths the bead and presses it into the joint for full adhesion.
Isopropyl alcohol and clean rags
Cleans and degreases the surface so new caulk bonds properly.
Match the Caulk Type to the Location
If you're unsure whether your situation calls for caulk or a different sealing method, our companion article on caulking vs. weatherstripping explains where each approach belongs.
What you will need
Step-by-Step: How to Remove Old Caulk and Reapply
Follow these steps in order for a clean, durable result. Skipping the removal and prep stages is the most common reason DIY caulk jobs fail prematurely — and one of the patterns covered in our article on when patching backfires.
Inspect existing caulk for signs of failure
Walk the perimeter of each area you're checking — shower surrounds, window frames, exterior siding, and door thresholds. Look for cracking, shrinking away from the joint, discoloration, soft or spongy texture, or full separation from one surface. Any of these signals the seal is compromised. Pay special attention to corners and horizontal surfaces, where water tends to collect and caulk ages fastest.
Remove all old caulk completely
Use a utility knife to score along both edges of the caulk bead, then peel or scrape the bulk of it away. For silicone caulk, apply a chemical silicone remover, let it dwell according to label directions, then scrape with a plastic tool to avoid surface scratches. Remove every trace — any remaining residue will prevent the new caulk from bonding.
Clean and dry the joint thoroughly
Wipe down the joint with isopropyl alcohol on a clean rag to remove soap scum, grease, or dust. Allow the surface to dry completely — moisture trapped under new caulk is a primary cause of premature failure. In bathrooms, run a fan or open a window and wait at least one hour before proceeding. On exterior surfaces, check that no rain is forecast for 24 hours.
Apply painter's tape for clean edges (optional but recommended)
Run painter's tape along both sides of the joint, leaving only the gap itself exposed. This step takes a few extra minutes but produces a straight, professional result — especially important around windows and trim that will be painted. Press the tape down firmly at the edges so caulk doesn't bleed underneath.
Cut the nozzle and apply a steady bead
Cut the caulk tube nozzle at a 45-degree angle to a size slightly smaller than the joint width. Hold the caulk gun at a consistent angle and move at a steady pace, keeping light, even pressure on the trigger. Pull the gun toward you rather than pushing it — this fills the joint more completely. Aim to complete the entire length of a joint in one continuous pass if possible.
Tool and smooth the bead, then remove tape
Wet your fingertip or use a caulk finishing tool to press the bead firmly into the joint and create a smooth, slightly concave surface. If you used painter's tape, pull it away at a 45-degree angle immediately after tooling, before the caulk skins over. Waiting too long will tear the bead. Wipe your finger or tool clean between passes.
Allow full cure time before exposing to moisture
Silicone caulk typically skins over in 30–60 minutes but requires 24–48 hours for a full cure before water exposure. Latex caulk cures faster but should still be left undisturbed for at least 24 hours. Check the product label for exact cure times — using the shower or running water against an uncured bead will compromise the seal.
Silicone Caulk Is Difficult to Remove Completely
When to Inspect and How to Stay Ahead of Failure
A quick visual inspection twice a year — typically in spring and fall — is enough to catch caulk failure before it allows moisture to penetrate. Focus on these high-priority areas:
- Shower and tub surrounds, especially horizontal joints and corners
- Around windows and exterior door frames, inside and out
- Where siding meets window trim, foundations, or other cladding materials
- Kitchen sink perimeter and backsplash edges
Keep in mind that caulk is just one layer of a home's moisture defense. Gutters and roof drainage also play a significant role — our guide on gutter cleaning and inspection walks through that side of seasonal maintenance. Staying current on both means fewer surprises when the weather turns.
The content on this site is for informational purposes only and is not a substitute for professional advice. Always consult a qualified professional for guidance specific to your situation.